

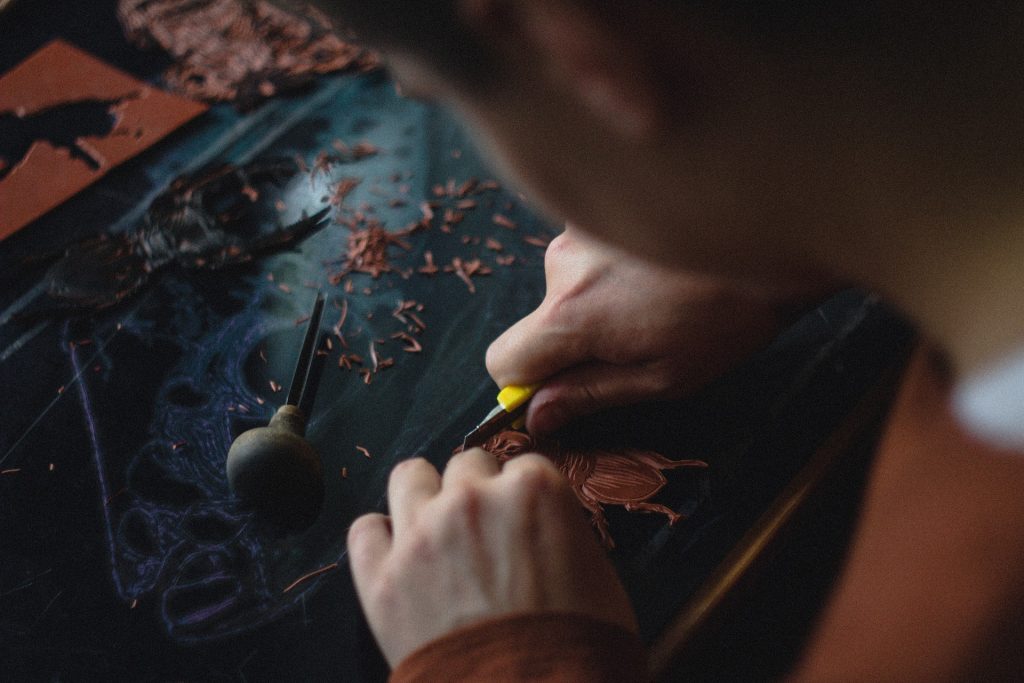
So you’ve got to a point your first woodcraft project when the turning or carving is completed and you’re pretty pleased with the result! You’ve managed to keep your project in one piece and it’s looking good!
Time to put the finishing touches on your piece. In this article, we are going to look at preparing your wood for finishing, explain how to get your project ready for staining by sanding, with tips on best practice, and also let you into the inner circle of which products are best for giving your wooden carvings or bowls a luxurious and professional-looking finish.
Let’s start first by looking at the brief answer as to what the best wood stain is for all your wood carving needs.
What is the best wood stain for carving? There is a huge wealth of colored stains, lacquers and finishes to add a flourish, protection, and durability to your woodturning or carving projects. Make sure you choose the finish based on your project and importantly check it is food safe if using on plates, bowls or other kitchen items.
Now that we’ve had a sneaky preview of which kind of products are best to give your pieces a glorious sheen and to help protect them, let’s delve a little further now into the important prep.
Before you give your carvings, larger projects – or even my recommended whittling set from Amazon a buttery, soft, but hard-wearing and professional look to them, your first step is to make sure you’ve fully prepared your timber – by sanding it thoroughly.
Let’s start by making sure we get this stage right before we move on. Let’s take a look below.

Contents
Make sure you sand before you stain
Sanding is your top priority before you even reach for the wood stain. To get the best finish on your project keeps the following pointers in mind.
- Fresh sandpaper As soon as you notice your sandpaper getting dull, make sure you throw it away and refresh it.
- Friction burn Avoid causing heat when sanding, or otherwise, the surface may become burnished and this will make it more difficult for your stain to adhere to the timber while also making penetration into the wood more difficult.
- Use all grits By making sure your work through all the available sanding grits, between 320 and 400 grits you will make sure you get the best results. Some smaller projects such as bottle stoppers or timber pens may even need a finer grit and an extra sanding step.
- Side lighting having the correct kind of lighting while you are sanding is paramount to the success of your finish. The best kind of lighting is a sidelight. This will enable any scratches or any other defects to be seen more easily.
- Clean thoroughly It’s vitally important to ensure you thoroughly clean all sanded surfaces with a paper towel to remove any sanding debris before you apply your chosen stain or finish.
- Sand just one more time at the point when you think you have sanded sufficiently, make sure you give it one more sand along the grain, to remove any scratches without the lathe. This will add what is known as ‘tooth’ to the timber to ensure any stain will stick to it sufficiently.
“It’s vitally important to ensure you thoroughly clean all sanded surfaces with a paper towel to remove any sanding debris before you apply.”
So now you’ve seen how important it is to make sure you have spent enough time making sure your timber is thoroughly sanded without any scratches or other imperfections, let’s take a look at how to choose the perfect stain.

How do I choose a stain?
The important thing to remember is that there isn’t one kind of stain that’s suitable for every wood carving project.
So, where do you start? There are a number of different criteria to establish before you hit the stain store.
Let’s take a look below at some of the most important to bear in mind…
- Timber type
- Size of Project
- The use of your finished article
- How durable the wood you’ve used is
- The drying time
- Do you prefer a satin or a gloss finish?
- How your stain will be applied
- Whether or not the stain is either solvent or water-based,
- Do you need your piece to be easily repaired?
- Will your project need to be compatible with food, such as a bowl or salad servers
Once you’ve taken the above points into account – where and if they apply to your piece of work, then let’s take a look below at some of the best finishes which will cover most sorts of carving projects.
Right from smaller artistic carvings and decorative pieces, all the way through to everyday used items such as furniture.
Let’s start by understanding a little more about water-based finishes.
Water-based finishes
This type of finish is perfect on durable utility items that are safe for food-based use. So of course, it will be perfect for tableware such as platters, decorative fruit bowls, salt and pepper mills, and salad bowls.
Water-based finishes have a beautiful deep amber-colored tone which is easily buffed to either a stunning high gloss or a more satin finish.
As this finish is water and Urethane based product, it’s not only safe for food but also acid-resistant too and gives an extremely strong finish. It’s really easy to apply too either with a sprayer, a brush or a paper towel.
It’s possible to also just use one coat as a sealant only if required, but with successive coats, it will give a deeper shine.
Oil-based finishes
Watco Penetrating Danish Oil works are one of our top tips for general carving projects and also for furniture.
Although this is quite a slow drying product, it penetrates the wood beautifully sealing and adding a gorgeous satin sheen to your project.
It’s a blend of boiled linseed oil and varnish so do be careful to make sure you fully dispose of any paper towels used when prepping.
It comes in several beautiful colors such as:
- Natural
- Golden oak
- Walnut
- Cherry
It is fairly easy to apply but does take some time to get the desired effect. We recommend waiting at least 24 hours before adding subsequent coats. However, it gives a beautiful deep sheen which is repairable and really durable.
Vibrant color stains
If you really want to bring out your creative side, there is a rainbow of vibrant colored woodturning stains to choose from to decorate your projects. Colors available include:
- White
- Royal Blue
- Black
- Blue
- Green
- Purple
- Red
- Yellow
- Orange.
Allow your arty side to run wild with maybe a mix of stain brights. Maybe use just over-color or blend them to create a unique and bespoke piece of art. Let your artistic side run wild with this range of nine spirit wood stain colors.
Brightly colored stains are perfect for smaller, more creative projects such as intricate carving work. Mix it with a thinner such as cellulose or methylated spirits to create a light wash finish.
It’s simply applied using either a brush, cloth or can be used as a spray. As with any kind of stain, always make sure your surfaces add free from any kind of wood dust or other debris before you begin.
And finally…
We hope this article has whet your appetite in terms of the wealth of finishes and stains there are available for your new hobby or business idea. If you need any more help on information on any other above topics, check out my resources page which will have you carving like a pro in no time at all!