

A chopping board or a cutting board is one of the things that you are most likely to find in almost every kitchen. It gives an even-textured surface and a sturdy platform for chopping fruits and vegetables. It can be said as a must-have due to its usefulness. It has made the job of cutting quite simpler and safer. Many on-screen chefs and cooks in restaurants usually have tons of chopping and cutting to do, this invention has made the art of slicing a piece of cake.
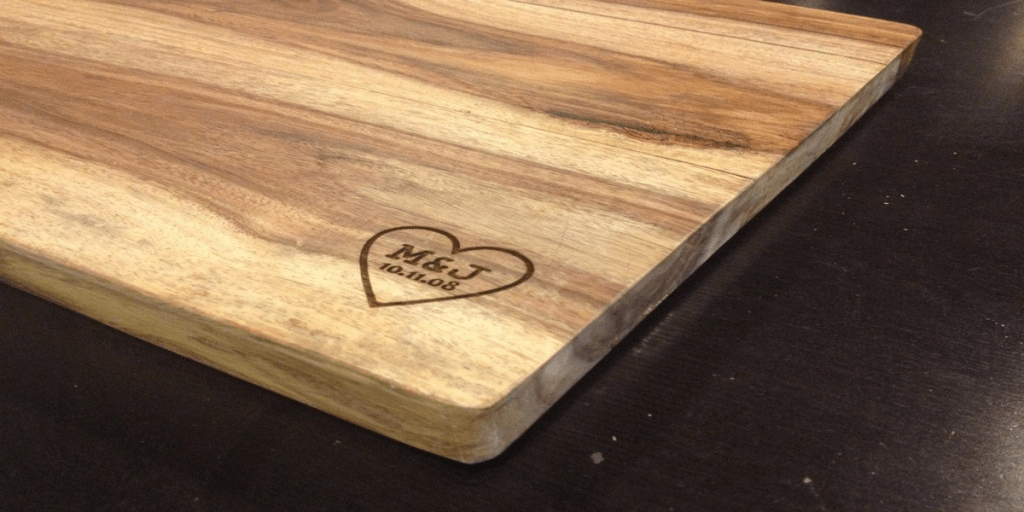
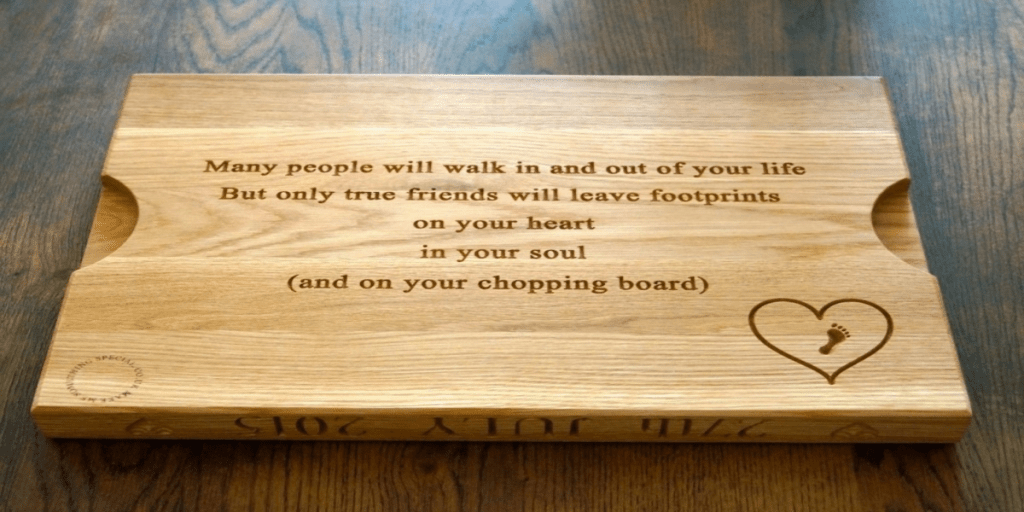
The chopping board is nothing, but a carved-out piece of quality wood with its edges smoothened to avoid pointy edges for safety purposes. In some cases, a chopping board also has a slit cut out from the sliced fruits or vegetables that can be put into a bowl or container neatly i.e. without the fear of being dropped and creating an unnecessary mess. These boards can be found in a variety of sizes, shapes, and designs depending on the buyer’s requirement. Usually, the chopping board used in daily households is about 12 × 18 inches, which is its standard size. There is nothing more delightful and fulfilling than to be able to design a chopping board on our own, which is truly befitting our choice of color, material, shape, and size. Following is the list of things you would require to start making your own chopping board:
- An appropriately sized piece or plank (about 12 × 18 inches) of sturdy and smooth wood, preferably some wood-like basswood which is very soft and easy to work with.
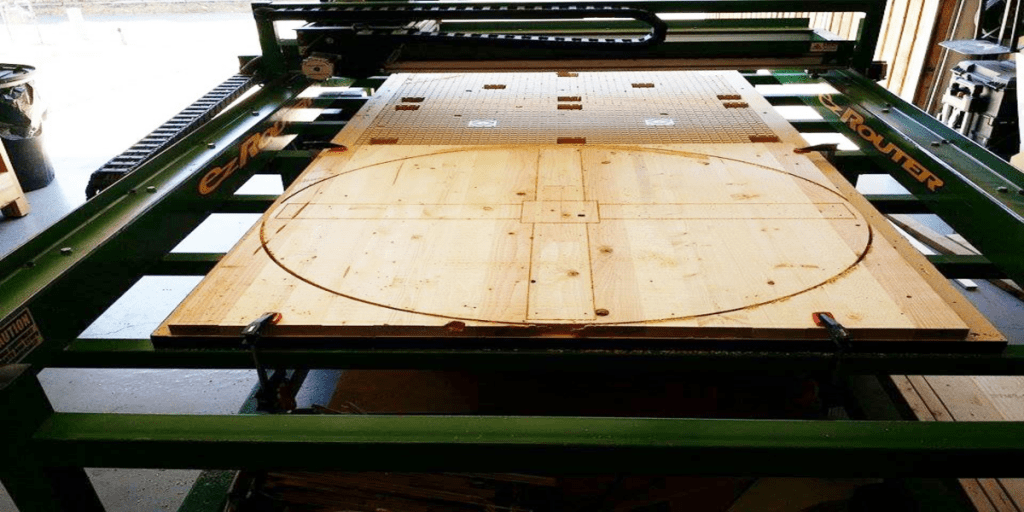
- A computerized router that is used to carve out unique patterns. This will definitely make wood carving quite easy and fun. (optional)
- Carving bits, which can be used to make very intricate patterns or as per one’s choice.
- Sander, which is required after you’ve finished your carving to smooth out the rough surfaces.
- Finally, the finishing oil, which is to be applied at last. Also, making sure that it is food safe.
After you’ve collected all the essentials for chopping board carving, you can start working step by step.
Step 1: Preparation of Cutting File
After you have selected your choice of pattern, you can add that design and create a file.
Step 2: Uploading the Cutting File
You can upload your cutting file. Then adjust the settings of the carving machine as per one’s desire.
Step 3: Carving the Chopping Board
Finally, after all the necessary adjustments are made, you may carve out your customized cutting board with your desired designs and patterns.
Step 4: Finishing Touches
After carving out the board, you may sand it a bit using any sander to smoothen out the uneven areas, and lastly, apply the finishing oil for a neat finish. If you are not familiar with using a computerized router or other equipment, one can simply carve out designs and patterns by hand using different hand tools or instead have a neat and smooth surface without any patterns, which will still do the job.