
Stone carving has been around since before recorded time. While most artists now carve more for enjoyment and decoration than out of necessity, and although the techniques may have improved, much stays the same. Carving stone doesn’t require heavy equipment unless your sculpture is particularly large. Start small and work to something larger and more complex as you hone your sculpting skills.Carving stone is a type of sculpting. Stone is different from other mediums in that it’s difficult to shape perfectly because of its density and unpredictability. Carving stone requires patience and planning. Use these steps as a stone-carving guide.
Carving stone is a type of sculpting. Stone is different from other mediums in that it’s difficult to shape perfectly because of its density and unpredictability. Carving stone requires patience and planning. Use these steps as a stone-carving guide.
Contents
Select a Design:
Either discover a stone that suggests a design to you by the color or grain, or begin with a design idea, model it out of clay to work out the details, and then find a stone that suits your idea.
Choose a Stone:
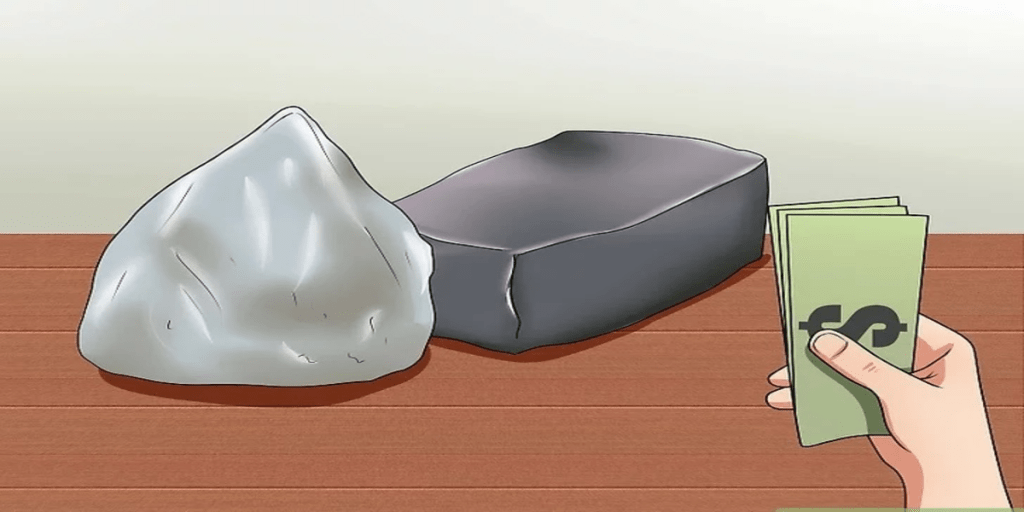
- Soapstone: Its texture resembles a dry bar of soap and is extremely malleable. It will easily form a shape with little force. Soapstone is so soft that you can carve it with harder rocks you find in your backyard; you can even use your fingernail to carve it. It also comes in many colors like grey, green, and black. Use soapstone if you are making a small sculpture that won’t be easily damaged if you accidentally scratch or nudge it, which makes it an ideal choice for your first carving.
- Alabaster: It is also a soft stone, but has a tendency to flake or split along cracks in the stone that are not always apparent. A high-polished finish can bring out its beautiful colors and patterns. You must wear a respirator when working with alabaster.
- Limestone: It is easy to carve and takes small detail to work well. It is also strong enough to support undercutting. Limestone has a very definite grain, and when carving, it breaks along the grain or “bed lines” easily. When carving across the grain, however, the stone is less reliable. Unlike many other rocks, limestone does not hold a polish. It works well for outdoor sculpture.
- Sandstone: like limestone, has a distinct grain that allows for easy flake removal. Carving sandstone is equivalent to using sandpaper on your tools, however, and it tends to dull them quickly. You must wear a respirator when working with sandstone due to the silica content.
- Marble: Although moderately hard to work, holds fine detail, comes in hundreds of colors, and gleams under a high polish. These qualities have made it the top choice of sculptors for millennia. Use marble only for indoor sculptures, however, as outdoor elements deteriorate the surface and erode the stone in only a few years.
- Granite: is the hardest carving stone. Instead of carving with a hammer and chisel, you must use carbide-tipped tools, diamond saws, and grinders. Granite can have a very fine grain or a very coarse one. It comes in a number of colors, can be highly polished, and lasts outdoors. Many gravestones are carved from granite. You must wear a respirator when working with granite due to the silica content.
Select Your Tools:
Depending on the type of rock you are carving, you need some or all of the following tools.
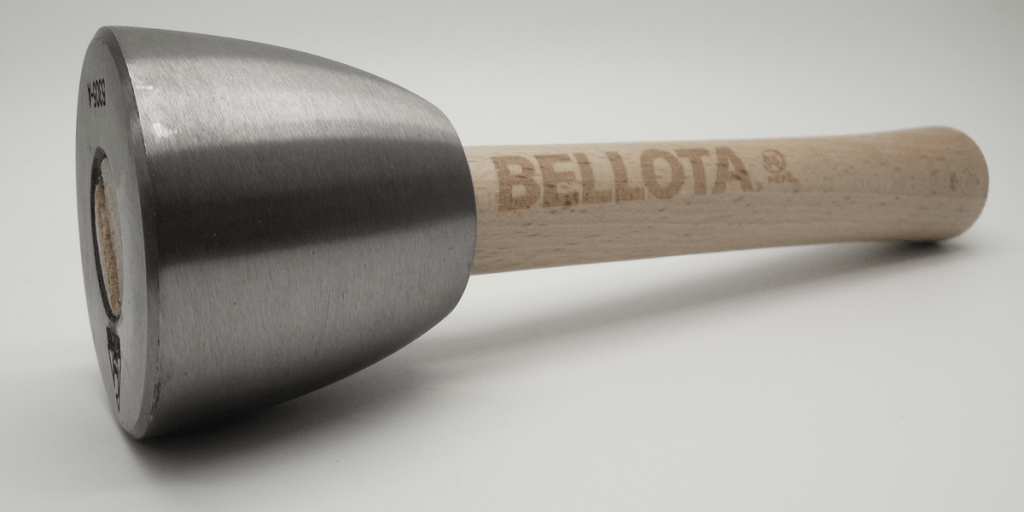
- Hammers (3 pounds for removing large chunks, 2 pounds for general carving, 1 pound for finer details).
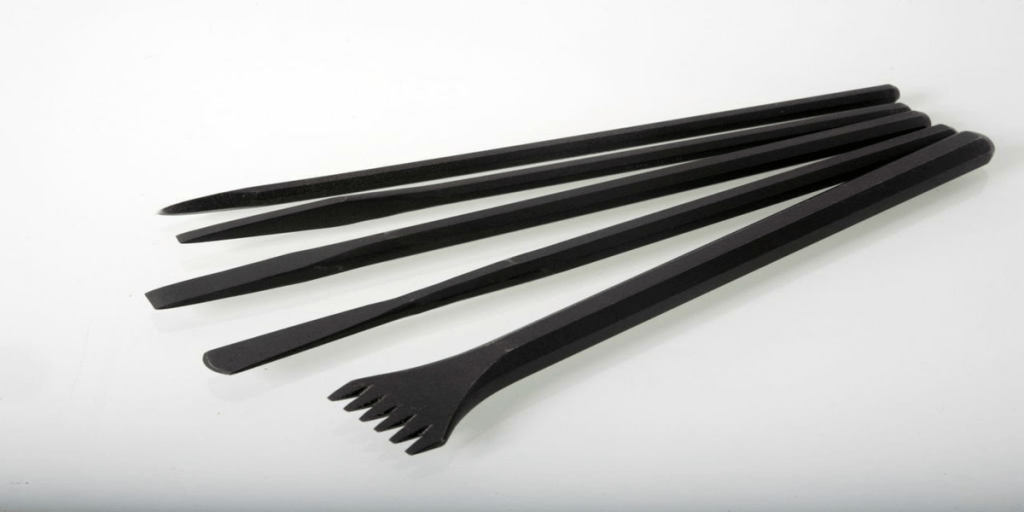
- chisels (point for roughing out your carving, tooth for further refinement, flat and rondel for smoothing, and to prepare the stone for finishing).
- Pitching tool for removing large chunks of granite.
- Tracing tool for more precision edges, rasps, and rifflers smoothing.
- Small grinder and sandpaper for shaping and polishing (coarse, medium, and fine grit). For granite, you also need diamond saws, carbide-tipped pneumatic tools, and an air compressor. To drill your stone, you need a pneumatic rock drill and carbide-tipped bits.

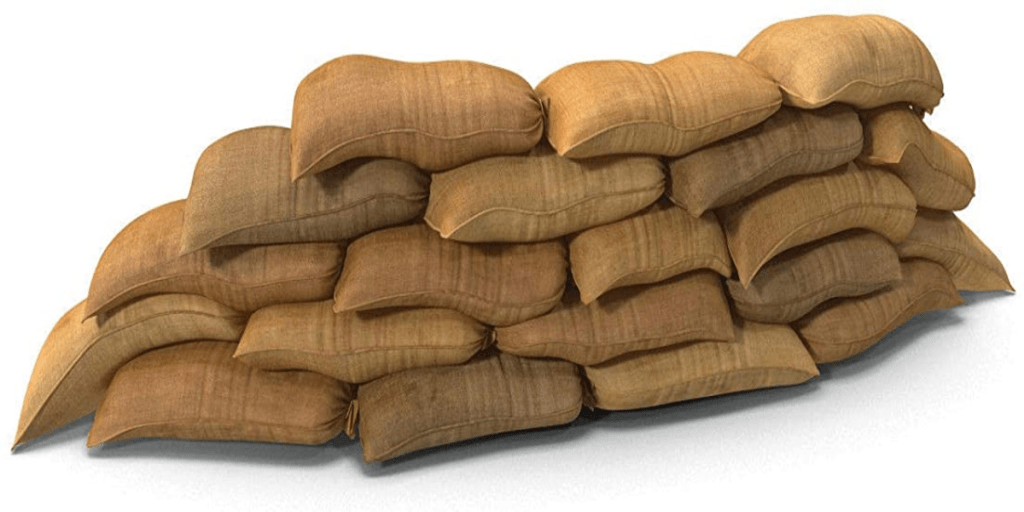
Workbench:
You will need to rest your sculpted piece on this sandbag as you work on it.
- Fill the sandbag with the large, inexpensive cat litter instead of sand. Sand is too heavy and settles too well to provide the necessary support for your stone.
- Be sure you purchase the larger, cheaper kitty litter. The more expensive kind tends to clump together like sand. The cheaper kitty litter is more lightweight and will allow you to support your stone in many positions.
- Tie the sandbags closed with twine, leaving plenty of empty space in the bag. You need that space for resting your stone comfortably.
Safety Measures:
- Wear respiratory protection while carving. Even if you are carving small quantities of stone, the stone itself may contain asbestos or silica. These are both harmful if inhaled.
- Wear protective goggles over your eyes. If you wear a prescription pair of glasses, cover those with the goggles as well.
- Consider wearing gloves if you are carving a large piece. Stone can be abrasive and carving it can cause blisters, scrapes, or cuts.

Carving Your Stone
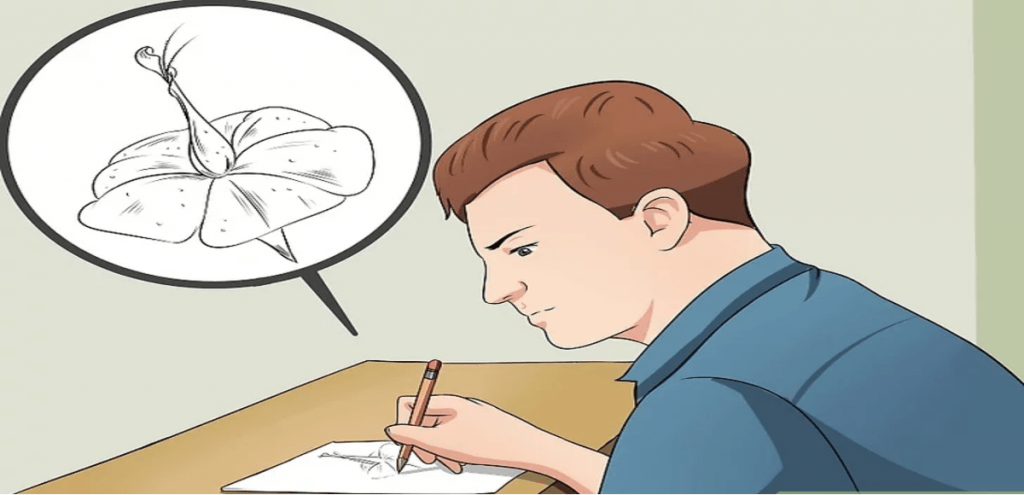
Draw your design on a piece of paper:
It is best to visualize your piece beforehand because sculpting requires abstract and spatial thinking. Although your drawing will be 2D, it will help you better visualize how your 3D item will need to be sculpted.
- Alternately, you can work with clay to create a “rough draft” of your sculpted piece. This way, you can add and remove clay until your desired shape is achieved. This will not only help better develop your idea, it will prevent you from removing stone that you wish you had kept.
- For beginning sculptors, it is recommended that you begin with an abstract shape. Avoid making detailed pieces like human statues. Learning how to use various tools while also trying to make things symmetrical and precise can be frustrating and overwhelming.
Determine The Direction Of the Stone’s Grain:
Similar to wood, the grain or bed is the direction in which the rock was formed.
- Wet the stone to better see the bed lines, which often appear as distinctive color patterns. Carving along these lines will ensure better structural integrity.
- Try to keep the grain running with the length of the design. Try to avoid breaking the stone perpendicularly to the bed linen, as it will most likely be more difficult to break and will break unpredictably.

Use a crayon to draw your design on the actual rock:
This will be the blueprint for carving your stone.
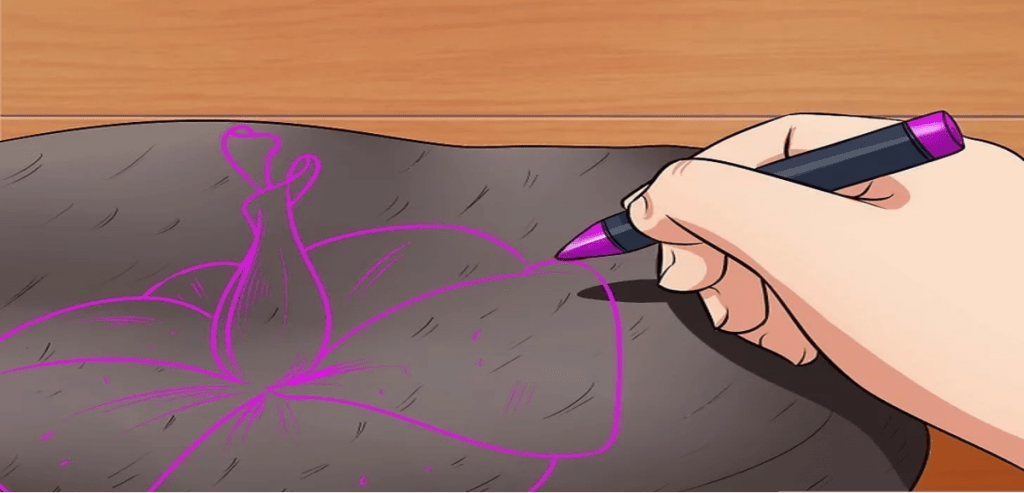

- Though you can also use a pencil or marker, chances are the graphite from the pencil will vanish almost instantly. The ink from the pen or marker can sink into the stone and stain it permanently. Using crayons allows you to wash off the drawing as necessary and also provides a wide variety of colors to use as alternative shapes your sculpture might take.
- Be sure you mark your design on all sides of the stone. Maintain the height and width of the form on each side. Remember, your piece will be 3-dimensional and will need to be evenly carved.
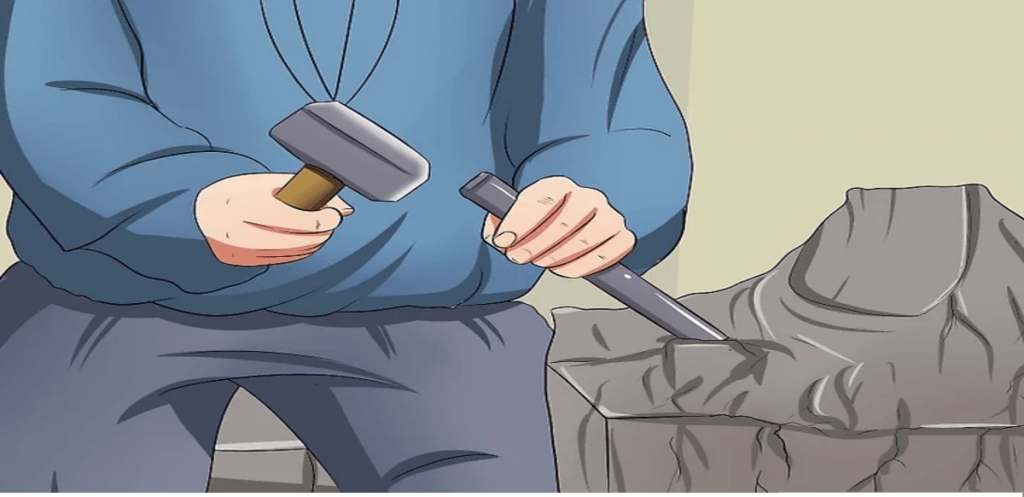
The Right Strike:
Roughout your carving with the pitching tool by hitting the top of the tool with a sharp blow of the hammer. Angle the tool toward the edge of the stone you want to remove. Use your chisels to cut parallel lines about an inch apart, being careful to avoid going too deeply into the stone. Crosshatch the ridges you made and then chisel along to pop off the cross-hatched ridges. Continue this process, removing the stone you don’t want to remain in the final sculpture. Work the entire carving to the same stage all around to keep the sculpture at the same stage; this helps you visualize the finished sculpture. Once you have the rough form, use the tooth chisel to further refine it, the rondel to make concave cuts, and the flat chisel to smooth the texture left behind by the tooth chisel.
Finishing:
Finish and polish your sculpture. For softer stones, the rasps and rifflers shape and smooth the contours of the final sculpture. Use silicon carbide wet and dry sandpaper for polishing. Start with the courser grits (40-80), work to the medium grit (150-320), and finish with the finest grits (400-1500). This brings out the amazing patterns and colors of the stone.
Tip:
Hold the chisel at about a 45-degree angle. A higher angle only bruises the stone; a lower angle just skips over surface.