
If you’re wondering how to sharpen wood carving tools, there’s an exact way to do it, and it’s not that difficult.
Seriously. You’ll be a professional at it by the end of this brief overview.
If you’ve already taken part in your first wood carving project, you know how important the sharpness of your blades are.
When working with hardwood like oak or mahogany, a dull knife can be the death of a project. It makes it harder on you, which drains your stamina faster.
So let’s avoid all that noise by keeping that steel razor sharp, and your projects looked more refined than ever before.
Contents
How Often Should You Sharpen Your Carving Tools?
We don’t mean to be ambiguous, but it’s going to depend on your use.
Don’t worry; we’re not leaving you there. There are ways to tell just how much you’re using your equipment so you can be sure.
For one, ask yourself how often you’re actually wood carving. If you’re doing it as often as possible, then you’re going to need to sharpen more often.
Nobody is expecting you to track your hours that you spend wood carving, and even if you did, it’s not an accurate depiction of how much each tool is used.
Which is why we’re going to inspect them individually. Some tools just don’t get used as often as others, and that’s okay.
Here’s how to check all of your tools.
First, get an angle finding tool like this one.
This will help you find the true angle of each individual piece.
Find the angle to determine if you need to sharpen it. If that angle is off by more than three degrees, it’s time to sharpen and hone).

- Carving Knife/Whittling Knife: These are sometimes called the same thing, and they both require the same angle. You should have a 17-19° angle for these; they’re meant to be ultra sharp and require minimal pushing to slice off small slivers of wood.
- Wood Chisel: These usually have a bevel, which is a point in the blade or metal where it bows inward before coming to a final edge. If you hold up your wood chisel right now, you’ll be able to see where the metal stalk curves inward at that 30° angle. You’ll come to an apex point that’s sharp and gets right under the wood, with a bit of force.
- Detail Knife: These are basically razor blades, which can go down to 7° angles. Keep in mind, the smaller the angle, the more malleable and prone to damage the blade is. We like to keep our detail knives in the 10-12° range. Slightly more elbow grease, better control over the outcome.
- Gouges/Veiners: There are different gauges of these, so the angle might change one degree per gauge rating, but generally you want a 23° to 27° angle. These are somewhere in between heavy duty, bulk-removing tools and precision instruments. They’re the middle tools.
Go through each individual tool (even if there are some in the box you haven’t used yet) to get their angles. Adjust accordingly.
While it may not seem like it would make much of a difference, two or three degrees will alter the entire feel of a wood carving tool.
What do You Need for Sharpening?
You’ll need a sharpener, which we’ll talk about in a moment, but you’re also going to need some safety gear.
This is steel and singular alloys we’re talking about; they come off the blade like shards of glass.
You need gloves, long sleeve shirts, and you’re going to need a respirator if you’re using a belt sander or rotating sharpener.
While the chances are ever so miniscule, you don’t want to breathe in metal shrapnel.
It’s something that’s nearly impossible for doctors to detect, and it could tear tissue in your lungs and cause internal bleeding.
Again, it’s a very, very low risk, but it’s one that you don’t need to take.
Have a dedicated workspace set up with proper safety gear and cleanup procedures, and choose from one of the sharpeners outlined in this brief.

Step-by-Step Guide on Sharpening Your Wood Carving Tools
By now you know how small those blades are on your whittling knife, and how detailed the angle on your chisel have to be.
Let’s do this right.
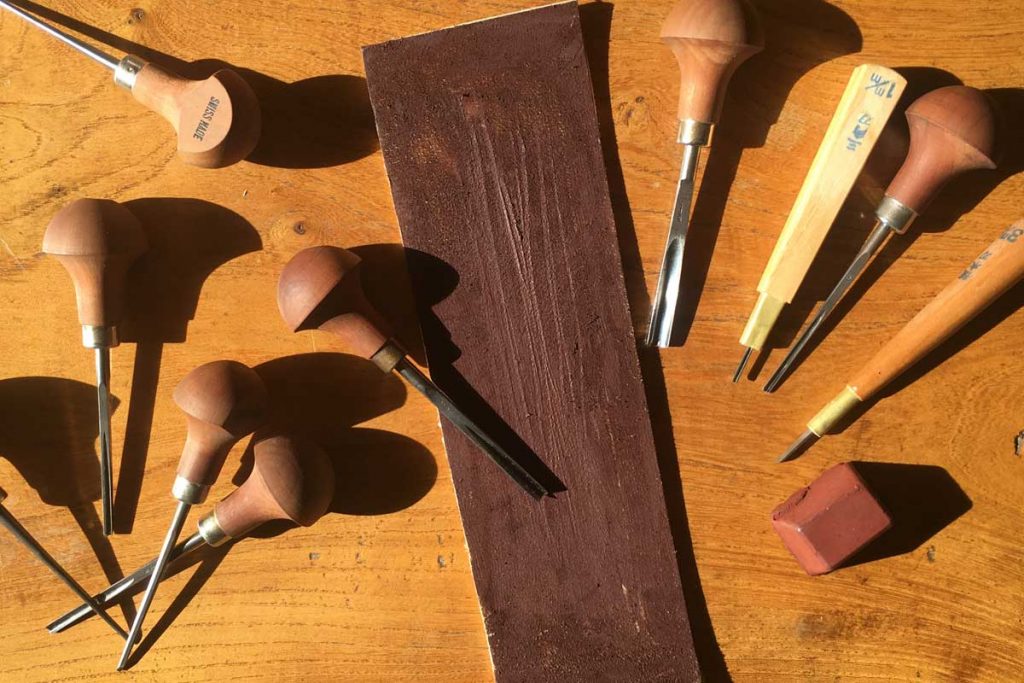
Choose Your Sharpener
There are three main materials that you can use to sharpen your wood carving tools.
Those are sandpaper, sharpening rotators (like a belt sander), or a stone.
Stones are just like those bricks that you’ll see Japanese knives sharpened on, and are the easiest (and most affordable) way to sharpen your tools.
Sandpaper or sharpening rotators are okay options, but you need high grit to keep these tools sharp. A stone could last you for years, but sandpaper comes and goes.
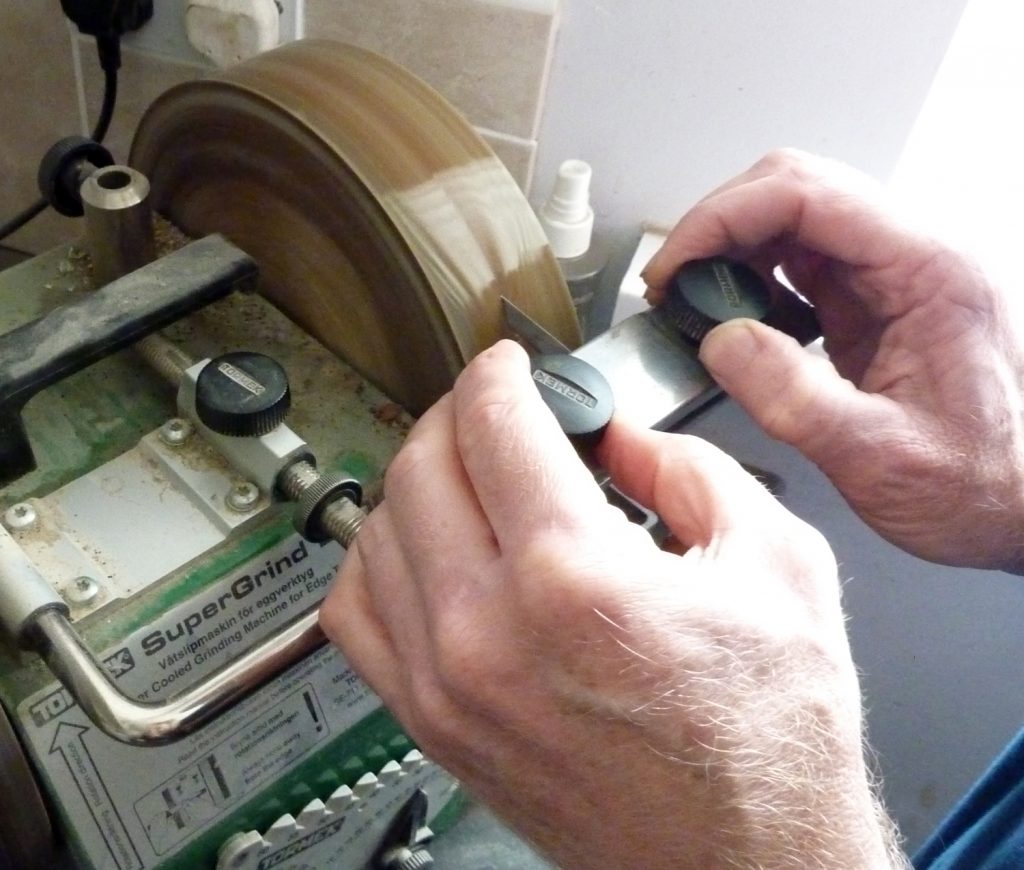
Sharpening
This first step is actually where you’ll be breaking down the metal of your blade.
To sharpen, we need to remove steel/vanadium from the end of the blade to create an edge.
Don’t worry; this doesn’t break or seriously diminish the lifetime of your wood carving tools.
All blades go through this process, whether kitchen cutlery or anything else. It’s a small amount of metal that gets shaved down.
Bring the blade to your sharpener of choice. Try to keep a 30° angle going for chisels and gouges, and a 17-19° angle for whittling knives and detail knives.
The latter range is the same as Japanese cutlery. For stones, hold your blade against it firmly and move it from side to side.
For rotators like whetstones or sanding belts, you need to let it do most of the work. Hold the knife loosely against it.
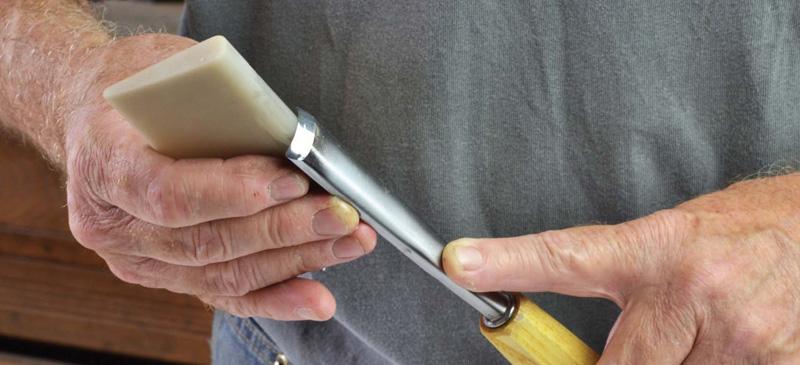
Honing
Honing is straightening out that blade edge you just made.
It would be nice if this step wasn’t required, but otherwise, you’re going to have a lot of problems.
Consider this: you just beat up a bunch of metal and chipped away microscopic particles of an abrasive substance. You used something abrasive to do this. The end result isn’t something smooth.
Honing uses another piece of metal, usually a honing rod, to straighten out the edges as best as possible.
You have to remember that you’ve made this metal thinner, and therefore, more brittle in a sense. It will cut through wood or items as needed, but in a straight motion.
You’re not banging anything against those thin edges you made.
Honing may be required 6-12 times in between sharpenings to keep your blades on-point.
Using a honing rod or a leather strop (which are commonly used for keeping men’s straight razors honed) will keep your blades perfect.
That’s How It’s Done
You can’t work properly without sharp tools, and with this information, you’ll never have to again.
It’s important to inspect your sharpening equipment from time to time. If your sharpening equipment falls into disrepair, so will your tools.
As a word of the wise, when you purchase a new whittling knife or wood carving kit, be sure to inspect the blades right out of the package.
Some manufacturers ship them slightly dulled. It’s an issue you’ll run into with almost any brand or kit, so be sure you have your sharpening items at-the-ready.
Now there’s just one thing left to do: go get those tools ready for the next big project.